
NON Destructive Sharpening in Photoshop & Photoshop Elements
The following High-Pass sharpening procedure can be undertaken in either Photoshop or Photoshop Elements but should be done after you have completed all of your processing. It is not always the case that you want to sharpen everything in your picture. The reason the High Pass filter technique works so well at sharpening images is because any areas in the image which are not an edge are left untouched. The only areas that have sharpening applied to them are the edges, which is exactly what you want, To achieve this you create a high-pass sharpening layer and layer mask and use the brush tool sharpen only those parts I want sharpened. The process is as follows images shown are for Photoshop but Elements is similar. :-
- Duplicate Layer
Once you have finished working on your image the final step is to sharpen the places that require sharpening. The first thing we need to do is to make sure we have a layer at the top showing the final image. this could be the background layer as you have flattened your image or you have merged visible. I can see in my Layers palette now that I have my original Background layer at the bottom, which contains my original pixel information, and the duplicate of it, which Photoshop automatically names “Layer 1”, above:

-
Change The Blend Mode Of The Duplicate Layer To “Overlay”
Next, we need to change the blend mode of the duplicate layer from “Normal” to “Overlay”. The reason is that the High Pass filter is going to turn all non-edge areas of the image into neutral gray, and the Overlay blend mode leaves all neutral gray areas alone, which means no sharpening will be applied to any of those areas. So to do that, go up to the Blend Mode options in the top left corner of the Layer Styles dialog box, click on the down-pointing arrow to the right of the word “Normal”, and select Overlay from the list:

-
Apply The “High Pass” Filter To The Duplicate Layer
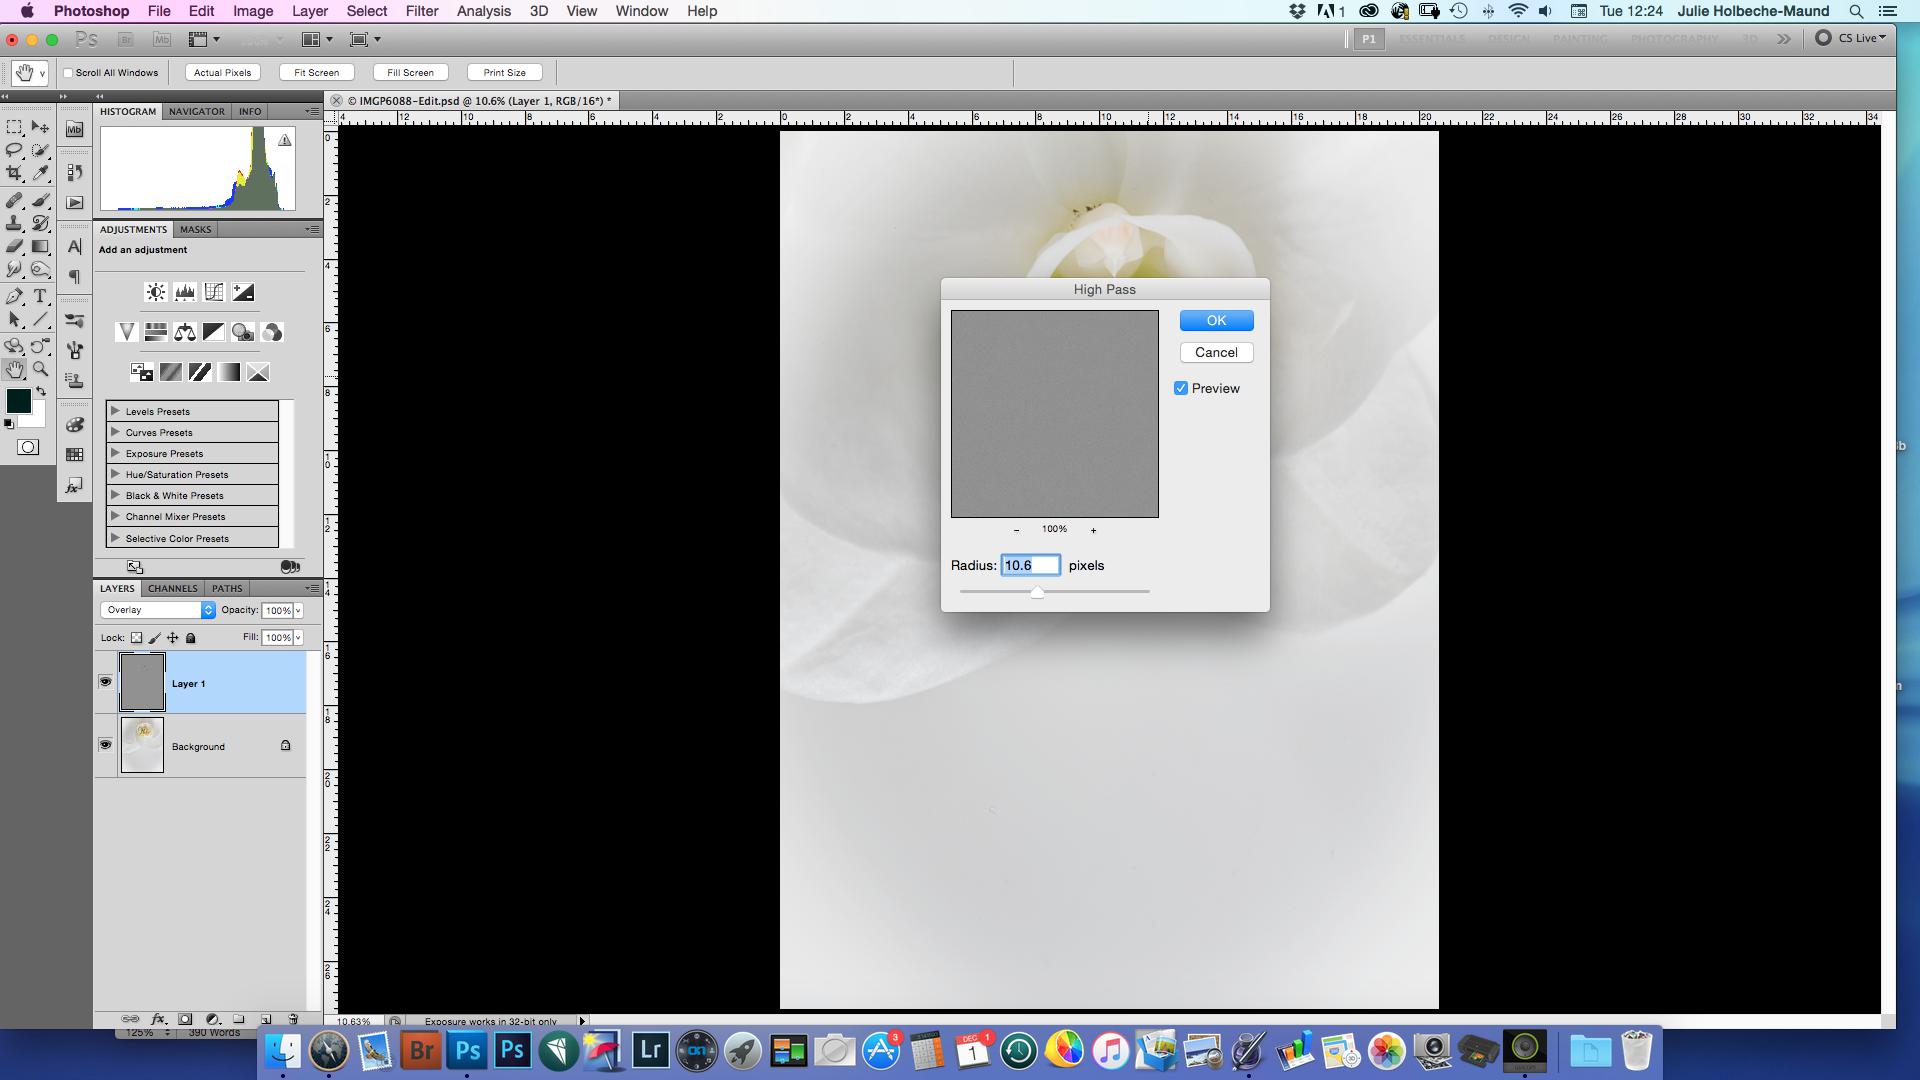
Now that we have the blend mode set to Overlay, which is going to allow us to see a preview of what we’re doing, we can apply the High Pass filter. To do that, go up to the Filter menu at the top of the screen, choose Other down near the bottom, and then choose High Pass. This brings up the High Pass filter dialog box:


Photoshop’s High Pass filter is very simple to use. It has a slider bar at the bottom to increase or decrease the intensity of the filter (the “Radius” value), as well as an input box if you’d prefer to type a value directly into it, and that’s all there is to it except for the large preview area and the “Preview” checkbox in the top right corner.
To sharpen your image with the High Pass filter, keep an eye on your image in the document window and adjust the Radius value by dragging the slider bar left or right. As you drag towards the right, you’ll be adding more sharpening, and as you drag to the left, you’ll be reducing the amount of sharpening. You’re going to want to start off with a very low radius value, somewhere between 2-5 pixels, and even that may be too much depending on the pixel dimensions of your image. I’m using a small version of the image for this tutorial, and I can already see that what I have chosen may be too high. If you go too high, you’ll begin to see a halo effect around the edges of your image, and you want to avoid that, so back off on the radius value by dragging the slider bar to the left once the halos begin to appear.
For my image, and again I’m using a small version of the photo for this tutorial, I’m going to set my Radius value to 10 pixels, which gives me a nice amount of sharpening around the edges in the image without sharpening any non-edge areas:
At this point the sharpening is on the whole of the image where there are edges. we now want to limit where we want the sharpening
-
Create a black mask
Go to the bottom edge of your screen where you will find the following ICONS. below selecting the box with a circle within it on a MAC hold down the ALT key on your keyboard and then click the layer mask icon,


What has happened now is that the sharpening is no longer visible the black mask has hidden it so we now need to brush in with white the areas we want to show the sharpening.
-
Paint with white
Make sure your foreground colour is white. You can do this by checking to your right the foreground and background colour boxes.

Now get a soft brush with the Opacity set to 100% and flow set to 100%. This may seem high but we can adjust the layer opacity later we are only adjusting the brush opacity and flow at this point.
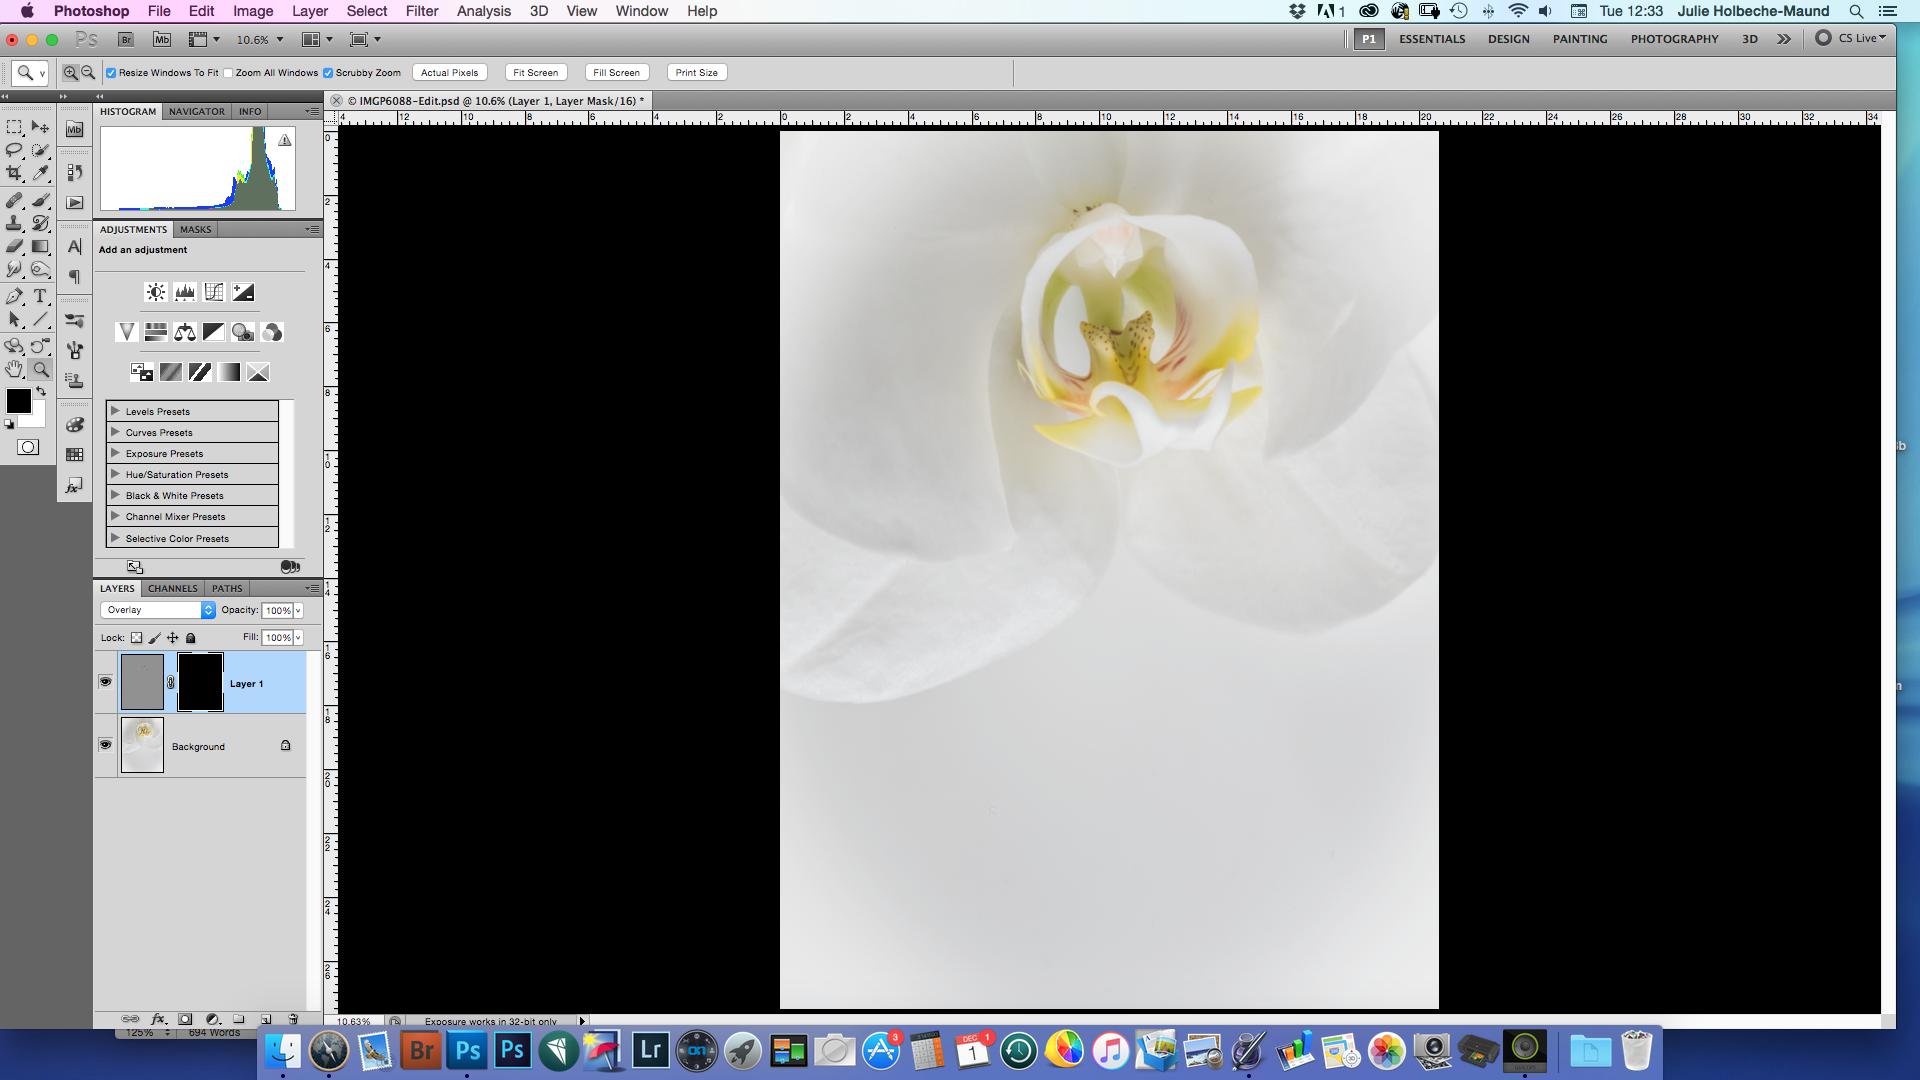
Make sure you are targeting the black mask, you can see if this is the case as a high-lighted box will be shown around the mask. Now paint on your images where you want the sharpening to appear.
 You can see from the image above I only wanted the centre of the Orchid sharpened so the mask is showing white paint in that location.
 -
Change the layer opacity and name layer
The next step is to reduce the layer opacity to a level where the sharpening is to your liking. For this image I reduced the opacity to 72%.
 last but not least name the layer “Sharpening”, so you don’t forget.
Buy using a mask to determine where you want your sharpening means you have control of where it appears. Should you decide you don’t like what you have done you can delete the mask and start again or just paint the mask back to Black.
Note: If you are experienced at using photoshop then on step 5 you can alter your method. If you keep the brush Opacity to 100% but reduce the flow to 80% you can paint over the areas where you want more sharpening, then you can reduce the flow again to say 60% where you don’t want as much sharpening and then your can keep reducing the flow to your liking. Even though you do this you might need to do Step 6.


